Step7: アプリ情報を変更しよう!(アプリID、アプリ名、アイコン、etc.)
このステップでは Meteor iOS アプリのID、名前、アイコン等のアプリ情報を変更する方法を学びます。
mobile-config.js
http://docs.meteor.com/#/full/mobileconfigjs
Meteor の iOS アプリ情報を変更するには、Meteor アプリのディレクトリ直下に mobile-config.js というファイルを作成し、その中にアプリの情報を記述します。
$ touch ~/meteor-ios-app-example/app/mobile-config.js
アプリID、アプリ名などのアプリの基本情報を変更しよう!
それでは mobile-config.js にアプリ情報を追加しましょう。
アプリの基本情報を変更するには App.info() メソッドを使用します。
// mobile-config.js
App.info({
  id: 'com.example.meteor-todo-app', // アプリID
  name: 'Todo',                      // アプリ名
  description: 'Todo App',           // アプリ説明
  author: 'Example Inc.',            // 作者
  email: '[email protected]',      // メールアドレス
  website: 'http://example.com',     // ウェブサイト
  version: '0.1.0',                  // バージョン番号
  buildNumber: '1'                   // ビルド番号
});
※アプリIDを変更した後は、キャッシュが残っているとアプリのビルドに失敗するため、以下のコマンドで.meteor/local/cordova-build ディレクトリを削除します。
$ rm -rf ~/meteor-ios-app-example/app/.meteor/local/cordova-build
mobile-config.js を書き換えた後は、meteor run ios or meteor run ios-device を再度実行してください。
iOS アプリのアイコンを変更しよう!
続いて他のアプリとの違いを出すため、アプリのアイコンを変更してみましょう。
サンプルデータ: icons.zip
https://github.com/j-hack/meteor-ios-app-example/tree/master/app/resources/icons
1. resources/icons ディレクトリ作成
まず Meteor アプリディレクトリ(~/meteor-ios-app-example/app)内にアイコンファイルを置くためのディレクトリを作成します。ディレクトリ名は何でも良いですが、今回は resources ディレクトリを作成し、さらにその中に icons というディレクトリを作成します。
$ mkdir -p ~/meteor-ios-app-example/app/resources/icons
2. アイコンファイルの用意
次に先ほど作成したディレクトリ(resources/icons)内にアイコンファイルを置きます。
iOS アプリ用のアイコンファイルはサイズが5種類ありますので、それぞれ用意します。 アイコンには PNG ファイルを使用します。
| キー | サイズ: 幅(w) x 高さ(h) |
|---|---|
| 'iphone' | 60x60 |
| 'iphone_2x' | 120x120 |
| 'iphone_3x' | 180x180 |
| 'ipad' | 76x76 |
| 'ipad_2x' | 152x152 |
3. mobile-config.js にアイコン情報を追加
その後、mobile-config.js に App.icons() メソッドを追加してアイコン情報を指定します。
// mobile-config.js
// ...
App.icons({
  // iOS
  'iphone'   : 'resources/icons/app_icon-60x60.png',
  'iphone_2x': 'resources/icons/[email protected]', // 120x120
  'iphone_3x': 'resources/icons/[email protected]', // 180x180
  'ipad'     : 'resources/icons/app_icon-76x76.png',
  'ipad_2x'  : 'resources/icons/[email protected]', // 152x152
});
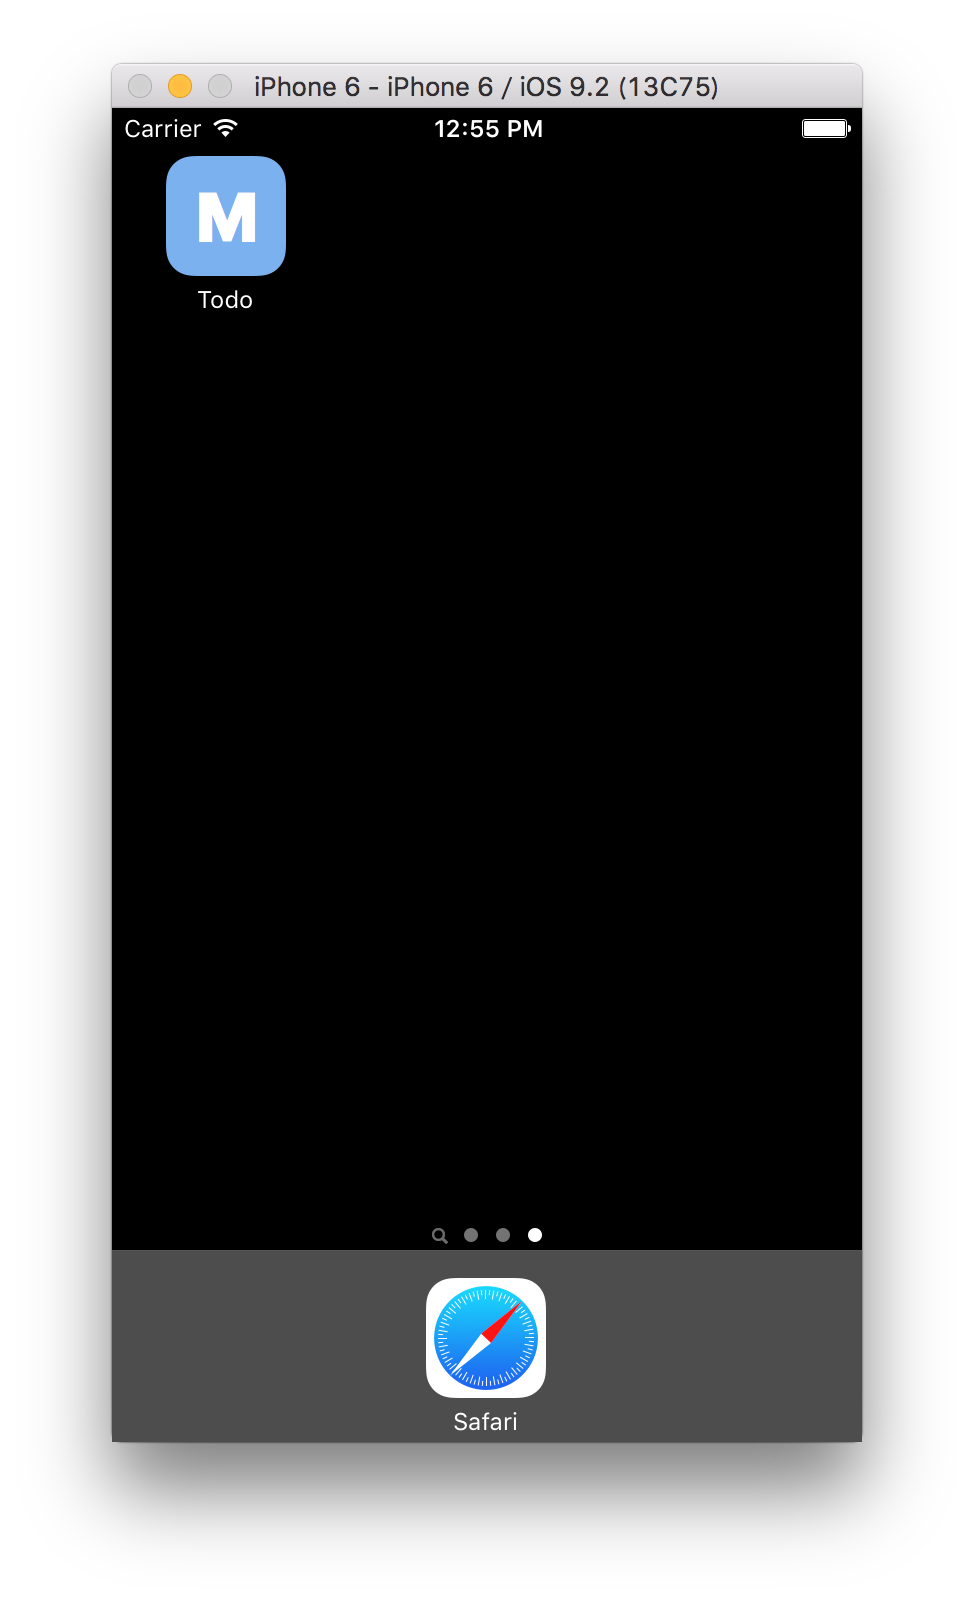
meteor run ios / meteor run ios-device を再度実行すると、アイコンが変更されます。
起動画面(スプラッシュスクリーン)画像を変更する
最後に、アプリ起動時の画面(スプラッシュスクリーン)に表示される画像も変更してみましょう。
サンプルデータ: splash.zip
1. resources/splash ディレクトリ作成
起動時に表示する画像を置くためのディレクトリを作成します。
アイコン作成で使用した resources ディレクトリ内に新たに splash ディレクトリを作成します。
$ mkdir -p ~/meteor-ios-app-example/app/resources/splash
2. 起動画面画像の用意
続いて、起動画面画像を用意します。iOS 用の画像サイズは以下の通りです。
参考: http://docs.meteor.com/#/full/App-launchScreens
| キー | サイズ: 幅(w) x 高さ(h) |
|---|---|
| 'iphone' | 320x480 |
| 'iphone_2x' | 640x960 |
| 'iphone5' | 640x1136 |
| 'iphone6' | 750x1334 |
| 'iphone6p_portrait' | 1242x2208 |
| 'iphone6p_landscape' | 2208x1242 |
| 'ipad_portrait' | 768x1024 |
| 'ipad_portrait_2x' | 1536x2048 |
| 'ipad_landscape' | 1024x768 |
| 'ipad_landscape_2x' | 2048x1536 |
サンプルデータ: https://github.com/j-hack/meteor-ios-app-example/tree/master/app/resources/splash
サンプルデータをダウンロードして resources/splash 以下に置きます。
3. mobile-config.js に起動画面の画像情報を追加
画像を追加したら、mobile-config.js に App.launchScreens() メソッドを追加して、起動画面の画像情報を追記します。
App.launchScreens({
  // iOS
  'iphone'            : 'resources/splash/splash-320x480.png',
  'iphone_2x'         : 'resources/splash/[email protected]',  // 640x960
  'iphone5'           : 'resources/splash/[email protected]',  // 640x1136
  'iphone6'           : 'resources/splash/[email protected]',  // 750x1334
  'iphone6p_portrait' : 'resources/splash/[email protected]',  // 1242x2208
  'iphone6p_landscape': 'resources/splash/[email protected]',  // 2208x1242
  'ipad_portrait'     : 'resources/splash/splash-768x1024.png',
  'ipad_portrait_2x'  : 'resources/splash/[email protected]', // 1536x2048
  'ipad_landscape'    : 'resources/splash/splash-1024x768.png',
  'ipad_landscape_2x' : 'resources/splash/[email protected]', // 2048x1536
});
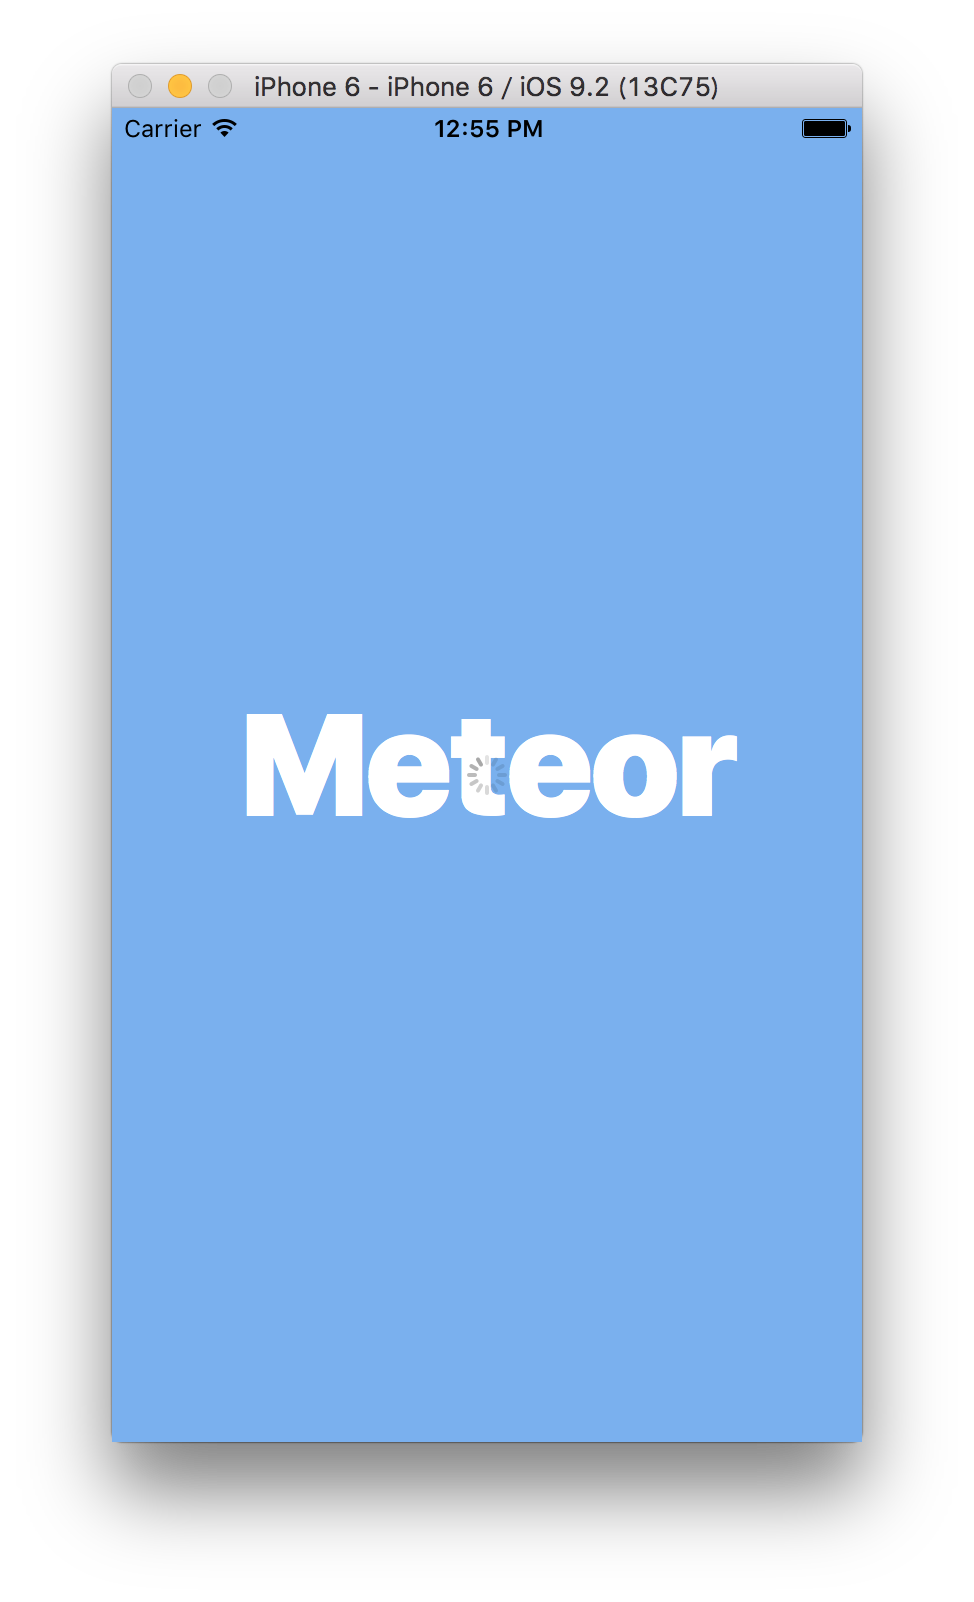
そして、meteor run ios (または meteor run ios-device)を再度実行すると、アプリの起動画面で先ほど追加した画像が表示されます。
これでアプリの体裁が整いました。次のステップで App Store 提出用のリリースビルドを作成してみましょう!